Stencils + Sharpies = Lovely Dish Towels

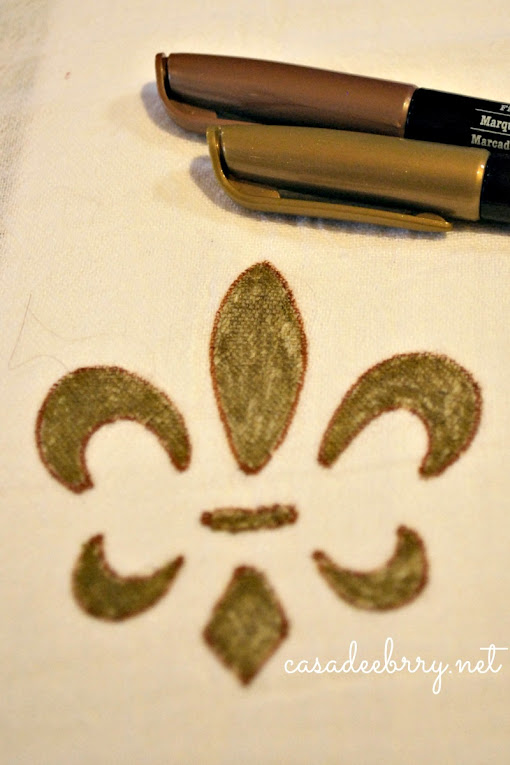
A few weeks ago I bought a set of stencils for super cheap. I think it was $3 or so. Mainly because the front stencil was of a fleur-de-lis, of course. I started on a flour sack towel I had leftover from another project.

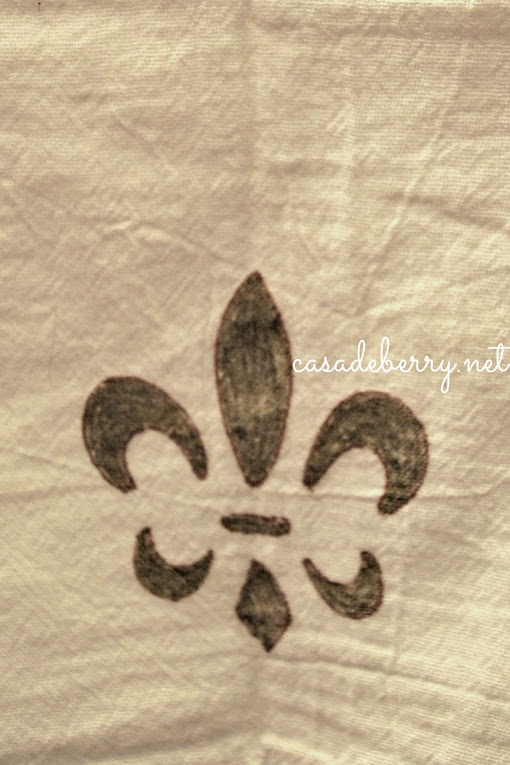
I was pretty happy with my first effort and since our new range has a handle for towels on the oven door, that’s where this pretty towel went:

I also love the look of Moroccan tiles, so I chose the stencil that looked most like a similar tile to me:

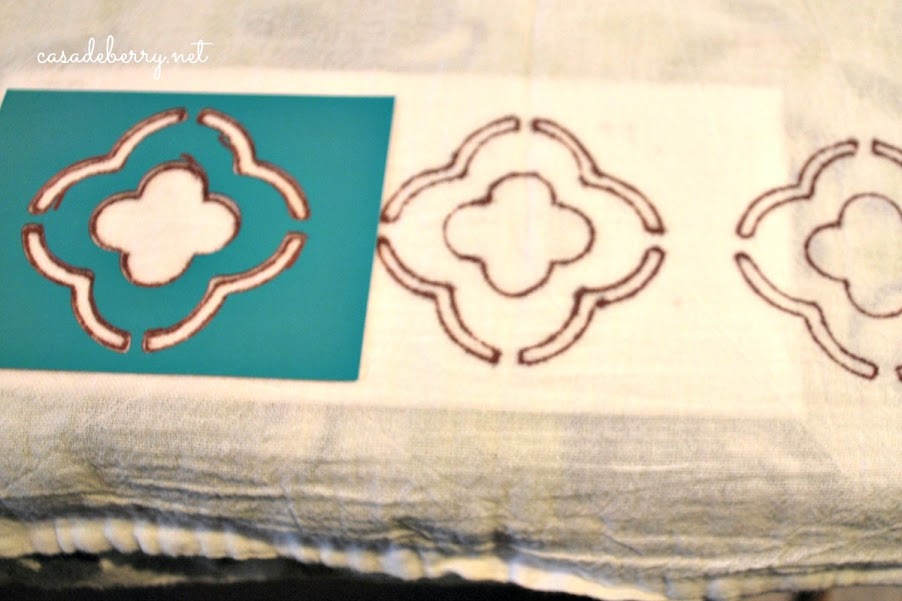
I did these in the dark red color and really like them:

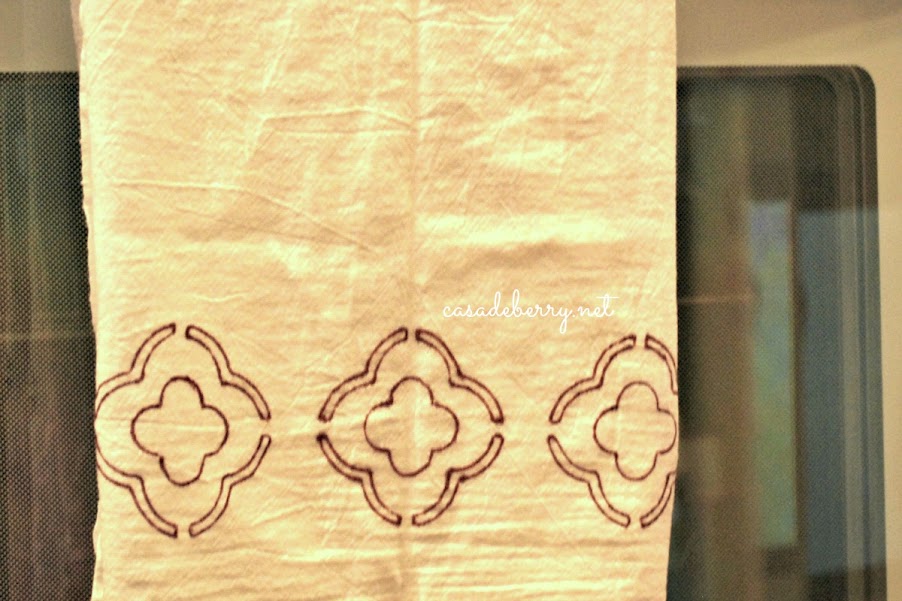
I just eyeballed it and didn’t measure the spacing or center, it was my first try and I just wanted to see how this went — and I’m really happy with the results. A super easy craft, under $5 per towel. Incidentally, I saw a deal on Tuesday of two towels for $35, with the same image as I used on my first flour sack towel project. Pretty crazy, huh?

Have a great weekend!

”Your
Weekend Bloggy Reading

Taming chaos


You might recall my pledge to makeover my husband’s desk. You know, the one I’ve been relegated to because, as my oldest says, “we like playing on your clean desk” – mm-hmm. So in my quest for a new desk, I started with an area that drove me batty every time I looked at it — the charging “center”.


Believe me, I was very kind in taking a grainy, far away picture, because you did NOT want to see this desk up close. Or the tangled mess that was the charging strip and the bazillion cords plugged into it. It’s the area to the left of the monitor where the Kindle and assorted black cords and items are sitting.

I chose a boot box we had laying around because it would be large enough for the bulky charging strip. I covered it in some delicious peacock paper from my home away from home, Paper Source, and then made two holes in it. The one in the back was large enough for the charging strip:

and the rectangular one in front was for the charging cords to plug into our various items.

I am so happy with the result. It’s not a space saver but a visual chaos tamer, and a much welcome one. The peacock paper brings together the colors I plan on using in this area, including shimmery gold:

First step taken — well, actually, the first step was cleaning the behemoth of a desk, so second step taken, yay me! I like how $4.95 (plus tax) for the paper was all I invested in this little change, and I already had the paper from a previous excursion to the store. I hope to make more progress this week and share the new desk area with y’all. Wish me luck!

* Today is my darling daddy’s birthday. I miss you so much, dad, I hope you are enjoying some good Peruvian coffee and freshly baked bread, and having a good conversation with friends, or maybe watching some Peruvian futbol. Love you lots.

EEK! So scary!

Okay, not really, they’re just three cute black photo frames from IKEA that got dolled up for Halloween with the help of some scrapbook paper 😀

I first printed out some suitable frightening letters and cut them out – this cardstock looks yellow but it is actually more orange:
0925eek2

Then I matted them on the black cardstock and pop-dotted them onto the frames:
0925eek3

These will be part of one of my Halloween displays – I am lucky to have a couple of hutches and mantels where I can put out some scary goodness, so I’ll show you those as it gets closer to October 31. I bought the frames in a 3-pack for $5 and I had the scrapbook paper and glue, so this little project comes in under $5.

Fall Wreath for $5 and change

I got the idea for a wreath with my last name initial on it from my friend L at Challenging Martha – she made a super cool fall wreath and I had $5 in my pocket, so I hit up the dollar store and dug out some leftover scrapbook paper I had from a project I will share with you tomorrow.
0924wreath4b

I started with a wreath form, some greenery/flowers in fall shades, ribbon, and brown leaf forms – there went my $5.
0920wreath1a
I played around with the “ingredients” and the floral wire I had leftover from the lavender wreath I made this past summer.

I have to admit I preferred the wreath form from Walmart because it was fuller, but it was a little more $ and I wouldn’t have been able to get the rest of the stuff for my fall wreath, so I made do with the skinnier, and lighter-in-color wreath form from the dollar store.

I made a letter B from orange scrapbook paper, and glued it onto black cardstock that was glued onto an oatmeal lid, for stability. Then I punched a hole through the paper and lid, and used more floral wire to hang it from the bow I made with the ribbon:
0924wreath2b

Notice how the wreath blends in really well with my door. I kinda don’t like that. I think a dark chocolate brown door would be more awesome, but that’s a project down the list for now.
0924wreath3c

I love my fall-toned wreath – the lavender wreath now resides between the windows that face onto the front yard, and looks lovely there with the window boxes and more lavender below. Now it is this beauty’s turn to grace our front door, and I am very happy with the result.
0924wreath4b

I hope you liked this little project – I had lots of fun making it, although stuff kept coming up and I started it over three weeks ago!

Designer GardenThe Shabby NestWeekend Bloggy Reading