Garden Update: July 2013

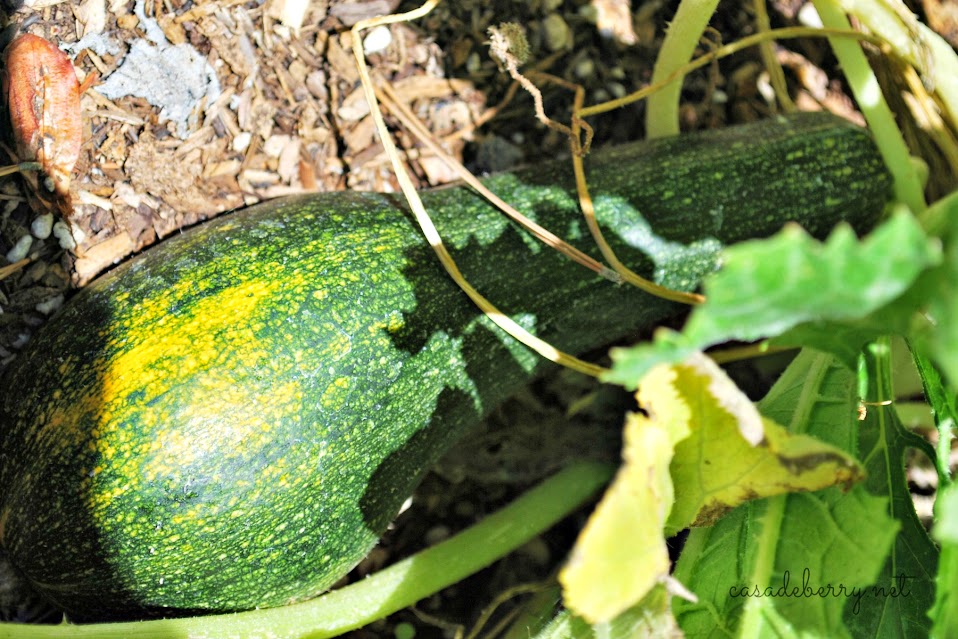
We’ve been enjoying our fruit and veggie bounty – I mad 2 loaves of zucchini bread and a batch of chocolate chip zucchini cookies from just ONE monster squash, and we’ve been eating our delicious tomatoes in sandwiches, salads, and a sauce that had my friend’s kids asking for lunch at 10am 😀

Some more future cookies 😀

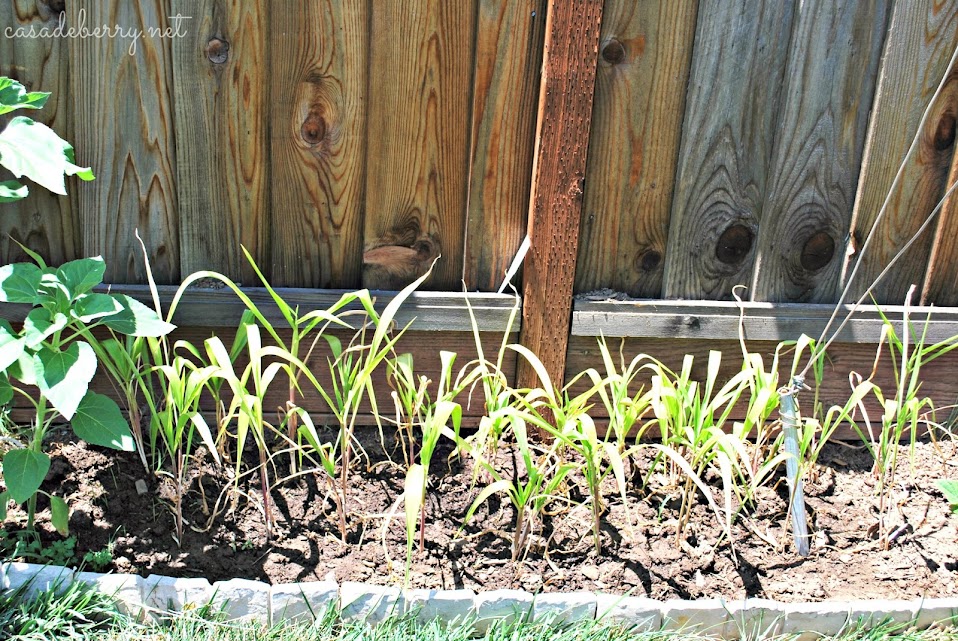
We’ve recently planted some more corn for an autumn harvest:

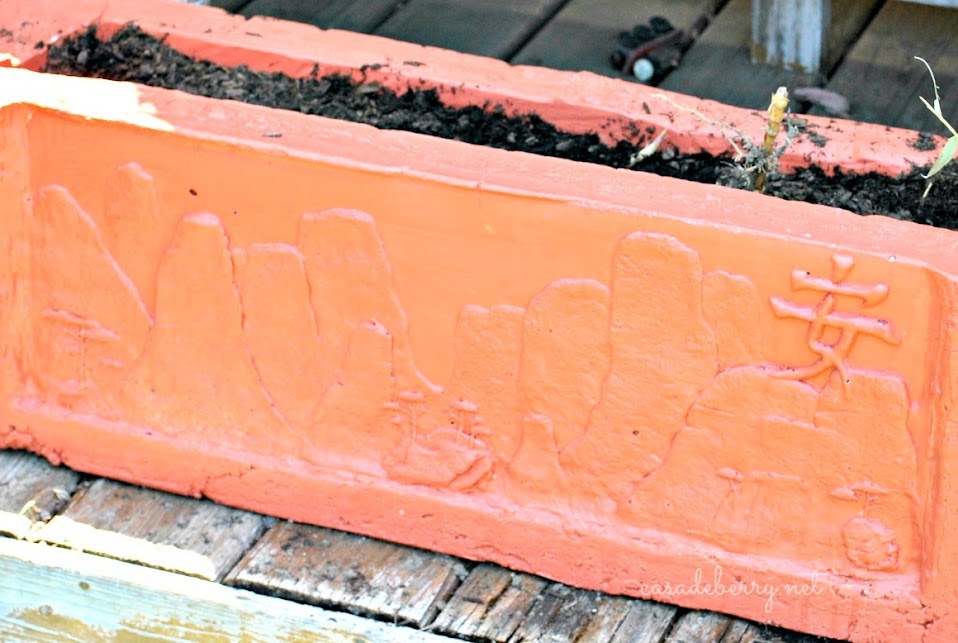
And, hello! Check out the awesome planter my husband made!!! He’s planting bamboo in it, and he got his inspiration from a couple of gorgeous river photographs by Keith Liang.

Steve made the mold with a high-relief design and then built a structure to pour the cement in. This turned out amazing, and yes, I’ve put in an order for a smaller planter with a fleur-de-lis 😀 Of course.

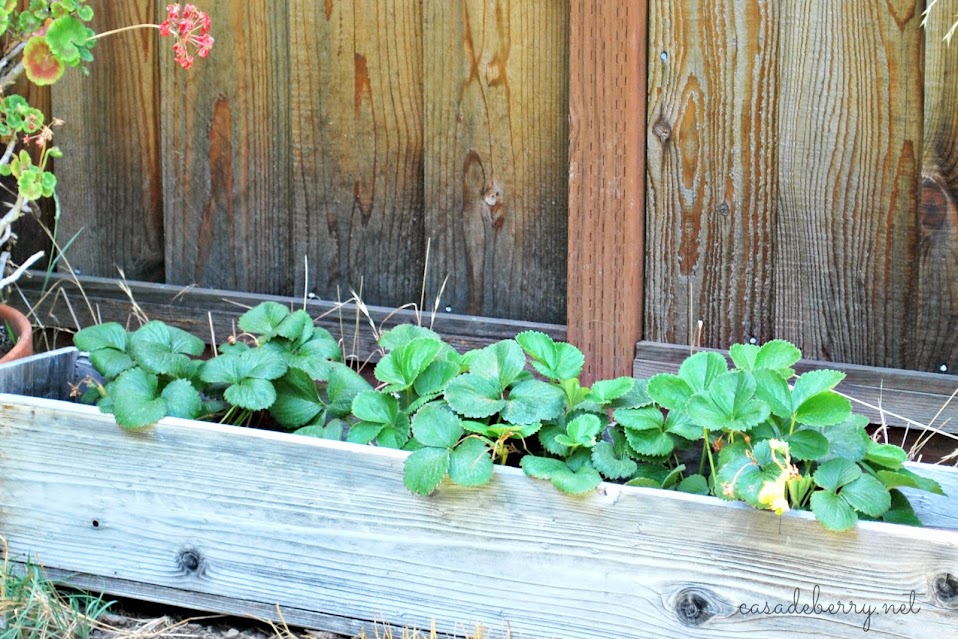
Our strawberries continue to produce as well:

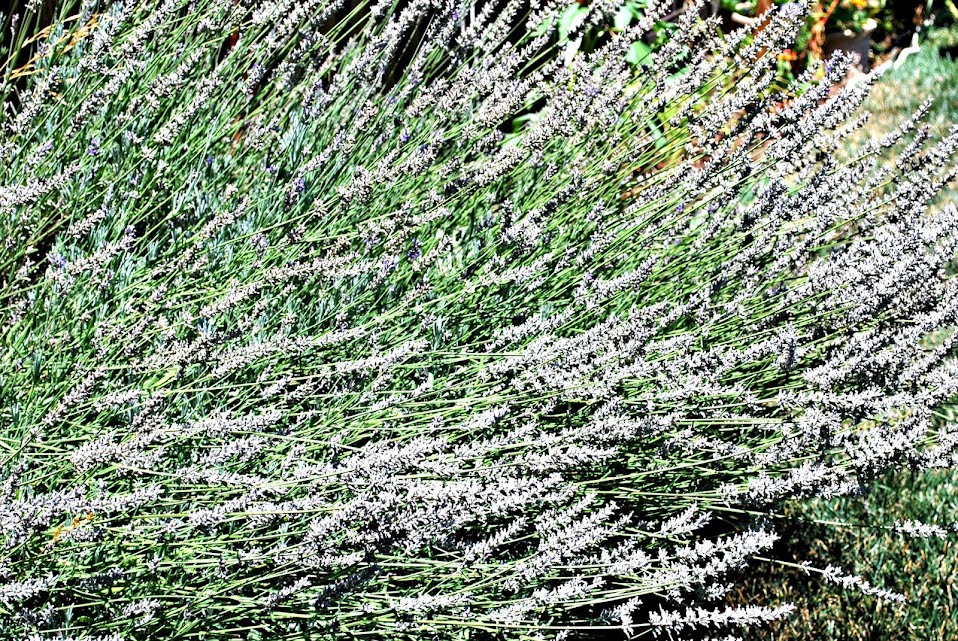
The other day we harvested some lavender for our neighbor. I think I’m going to make some eye pillows with the rest.

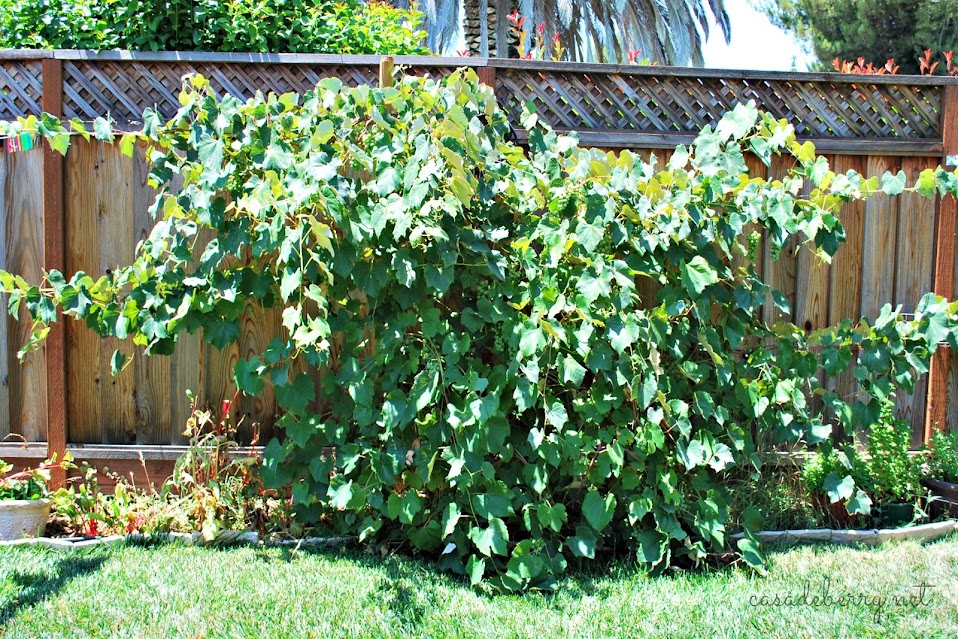
This crazy madness going on here is our Concord grape vine. Well, one of them. The other is just started to go all wild but this one is going to become another yummy batch of grape jam.

This is what the vine looked like in April:

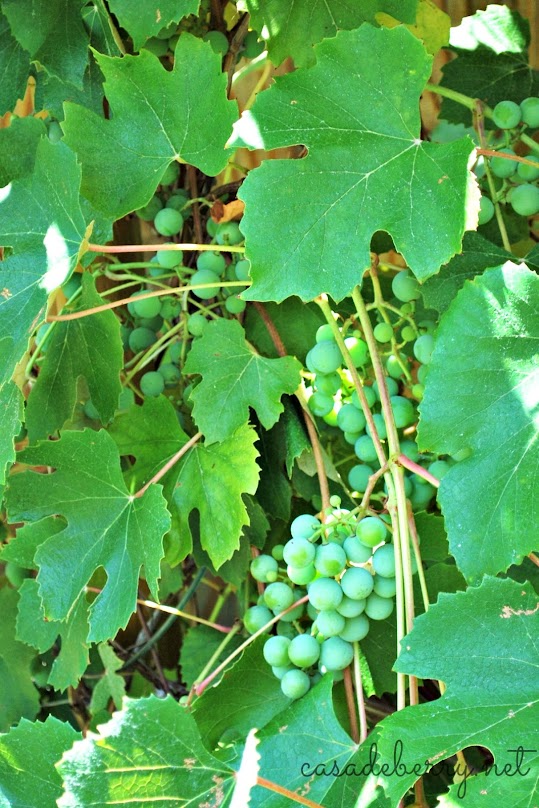
Current goodness and future grape jam, nom nom nom.

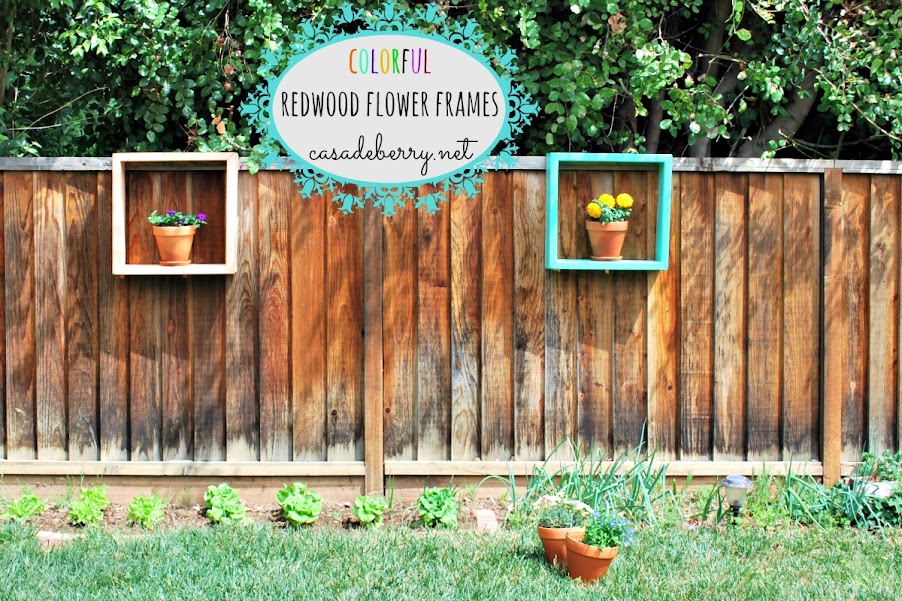
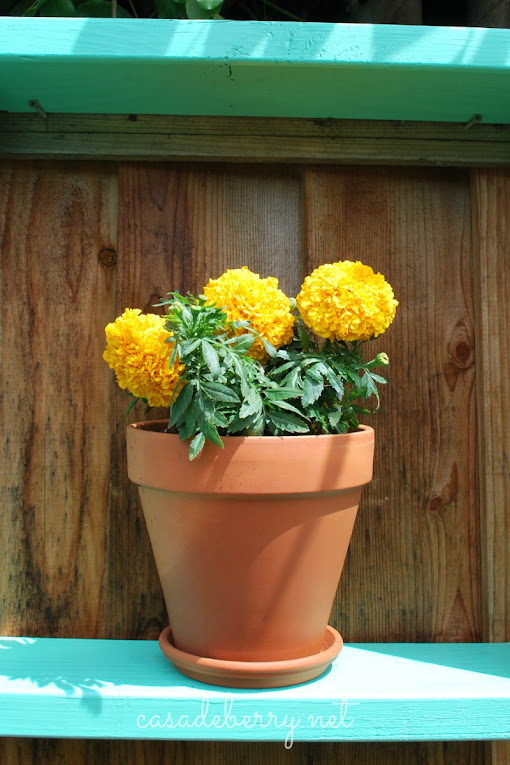
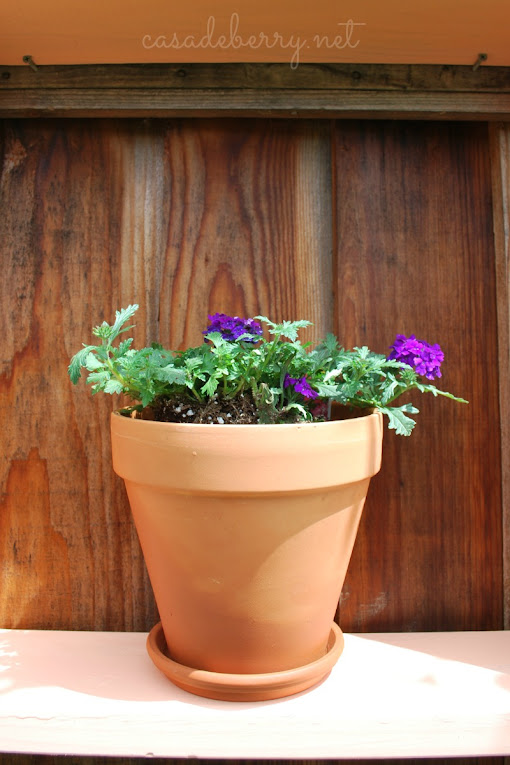
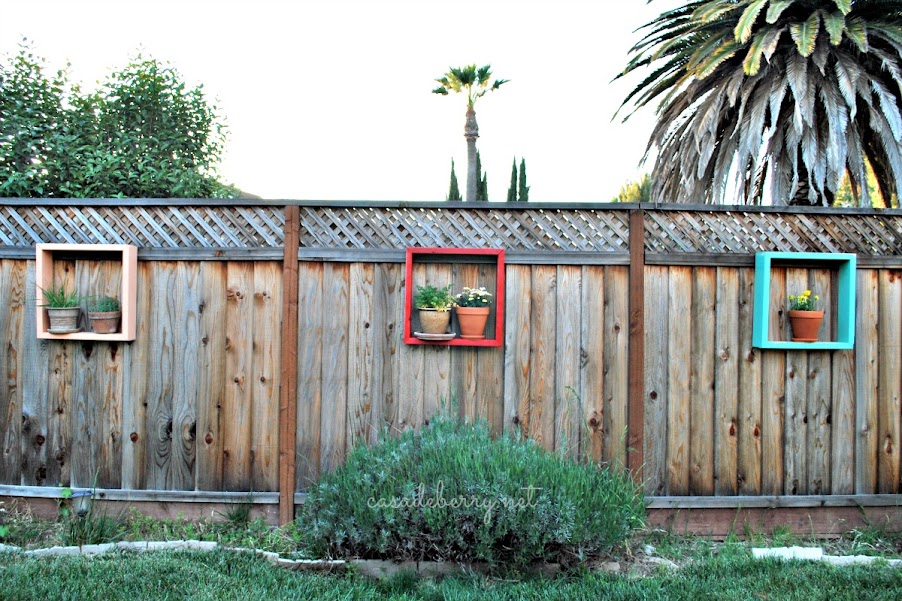
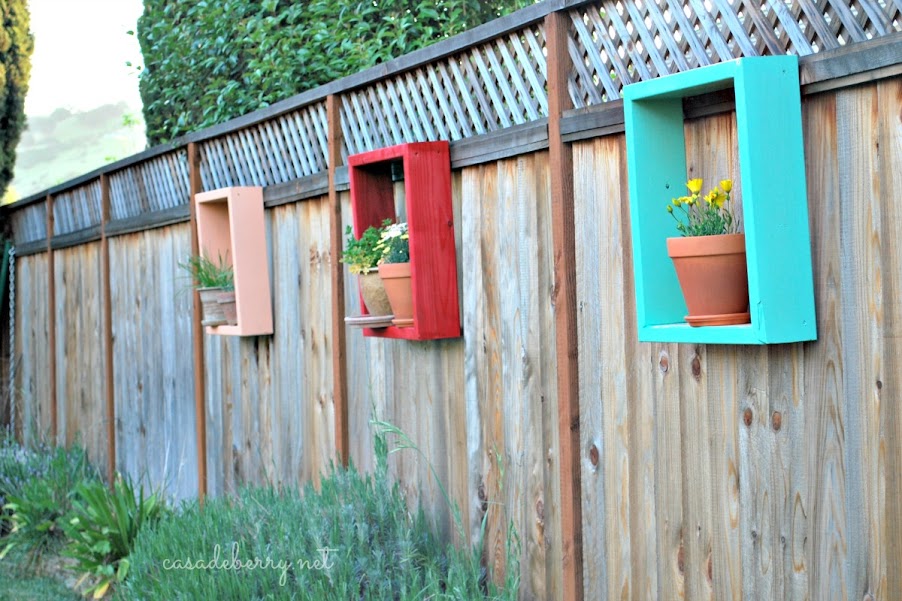
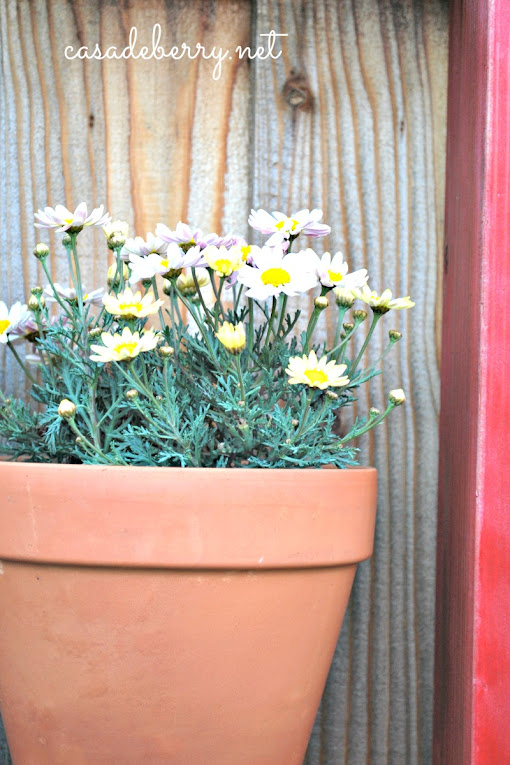
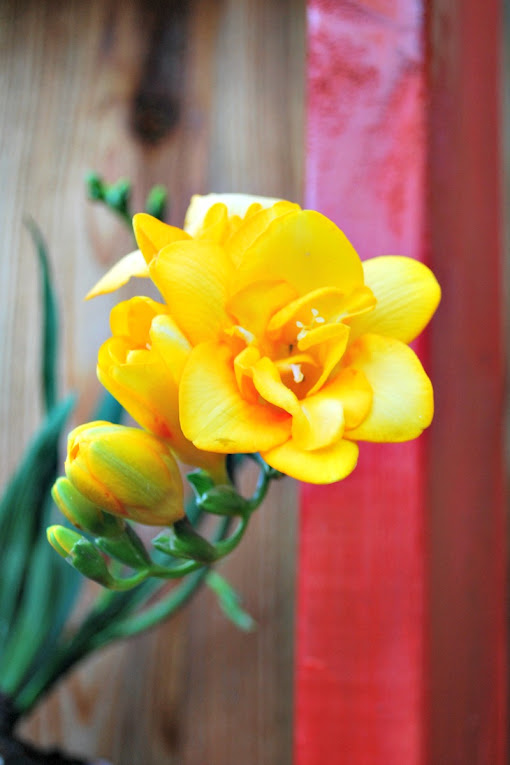
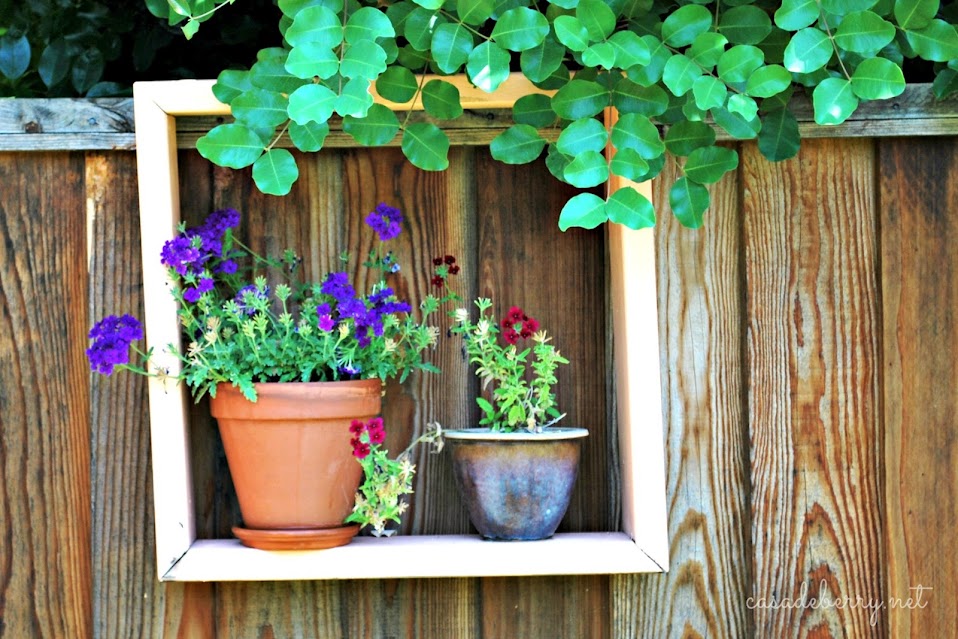
Our pretty flower frames are doing great as well!

We are also harvesting potatoes and onions, and mint for our mojitos.

Gardening is to me an incredibly rewarding experience. Which is not to say there aren’t days (usually those in 100+ degree weather) where the last thing I want to do is go out there and water and tend to the plants. But homegrown veggies taste so good, and knowing that my family gets to eat fresh, delicious, healthy food is pretty awesome.

I say this every year, but next year I’d really like to get more flower plants for cuttings. I just love having fresh flowers in the house. I’ve killed some gerbera and hydrangea, though, so we’ll see how I do in that goal.

Have a wonderful week!

Redwood flower frames


We love our backyard, no question about it. It is a pretty decent size, it allows our boys to play hard and it allows us to entertain and grow fruits and veggies for our family.

THAT said . . .

Sometimes things out back get kind of, well, boring.

True, we will have lots of lavender and tomatoes bringing in the reds and purples of summer, and there will be fresh corn and plums, too, but we wanted some instant gratification and my husband decided to put together some frames for nature’s works of art.

The frames are made from redwood planks – we painted them using leftover spray paint and some mistints that cost $5/gallon.

I love looking outside the playroom/office window and seeing these bright pops of color!


We are very happy with how this project turned out, and it has been featured at:
Visit thecsiproject.comFeatured At Serenity Now

Linked to:
”Monday
Skip To My Loukatherines cornerVisit thecsiproject.comWeekend Bloggy Reading
”Your

Frame Jewelry Display

You know how sometimes the glass that comes with a photo frame breaks? And you don’t want to throw that frame away so you stash it for months in various places, until your husband is all “hmmm, are you going to do something with this thing?” And then a friend gifts you their old coffee table but one of the ten knobs is missing and you’re all “Whoa! Frame + knobs? Can I say jewelry display?”

Okay, so maybe you haven’t thought this, but I did, and here are the results.
0903display1

I took the frame and painted it in Oil Rubbed Bronze, then covered the backing with gold dust vellum paper from my favorite paper store.

The backing was a piece of laminate that my husband had leftover from a project and he cut it to size for me. Once the laminate and vellum were adhered, I marked a grid of nine spots on the back – three across, three up and down. My awesome husband drilled the laminate and paper and we bought some new screws because the ones that came with the knobs were too long.

I now have a place to display some of my bracelets and necklaces:
0903display4

0903display3

0903display2

The total cost of this project was solidly under ten dollars. The paper was $2.75 (plus tax) and the new screws/washers were under $5. I had the frame, we had the piece of laminate and we had the nine knobs from my craft table project.

I hope you have enjoyed my repurposed photo frame craft!

Transformation ThursdayPhotobucket
HookingupwithHoHWeekend Bloggy ReadingThe Shabby NestmonogramPhotobucket

“>
UndertheTableandDreamingTip Junkie handmade projects

The 17,923th version of . . .

the Pottery Barn jewelry frame! I know, I know, you’ve seen similar knock-offs everywhere, and when I say everywhere, I mean everywhere, but ya know, I do love my deep, dark reds:
Yep, I used a rich glossy red for my frame, and I love it. Also, I used twine instead of wire to make it a little more of a contrast between the rustic twine and the gloss of the red.

I love the bold contrast between my bathroom wall and the glossy frame. Now I’m painting a little pot I found with the same red spray paint, and it will hold my daily cosmetics. A little update for very little money.