Our Christmas Village

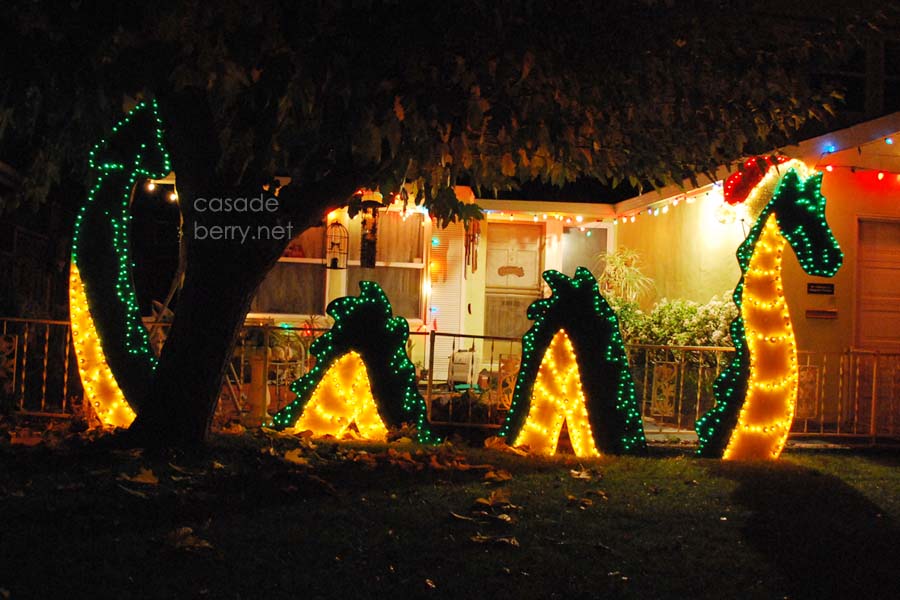
Steve took something that we had for years and brought it to the next level. I woke up at 2 in the morning to let Foxy out to do her doggie business and found this loveliness:

Isn’t it magical?

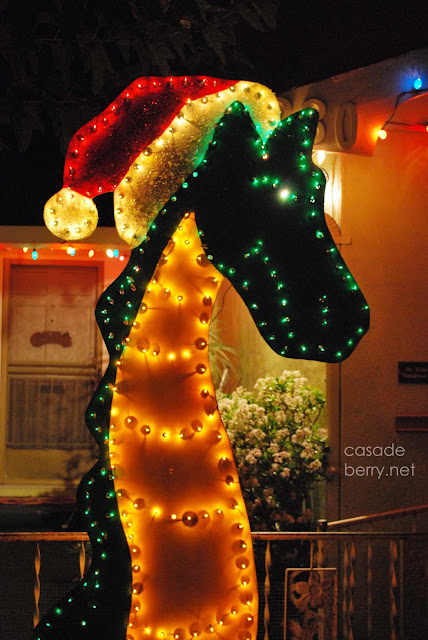
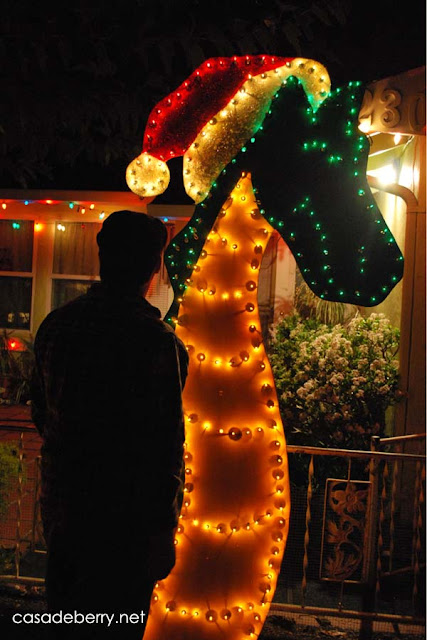
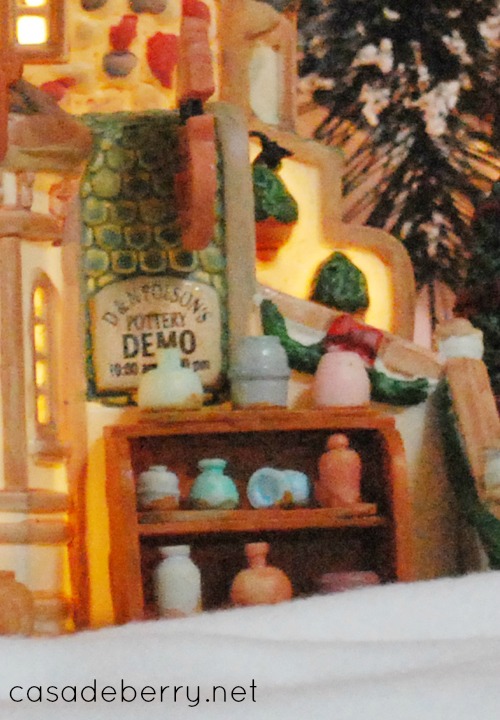
Some close up shots:


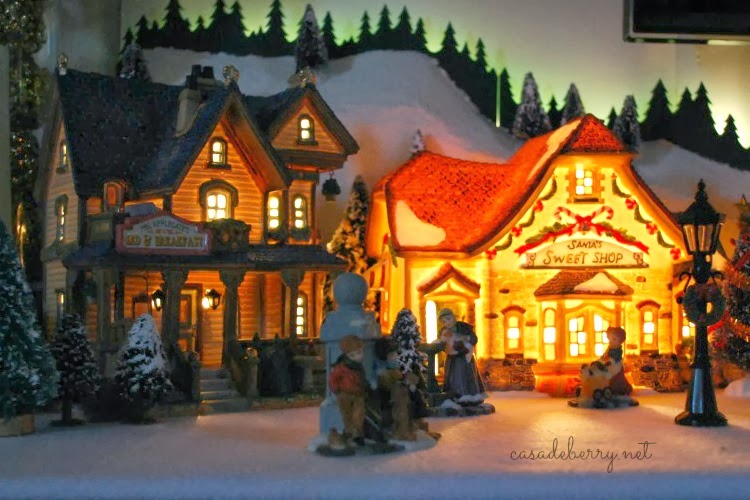
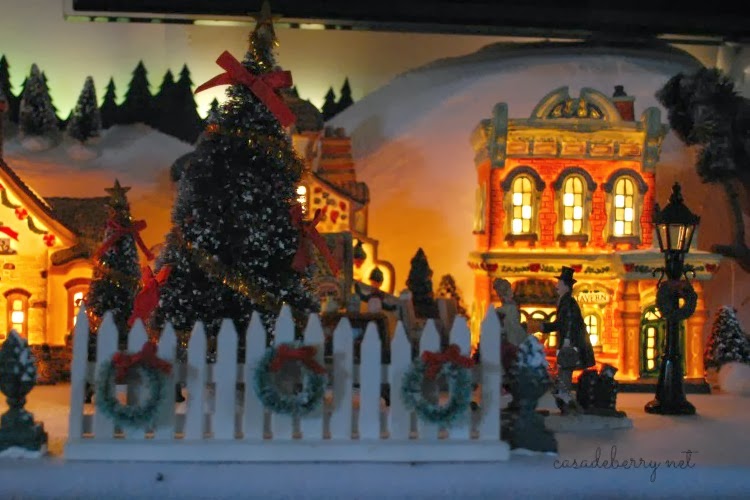
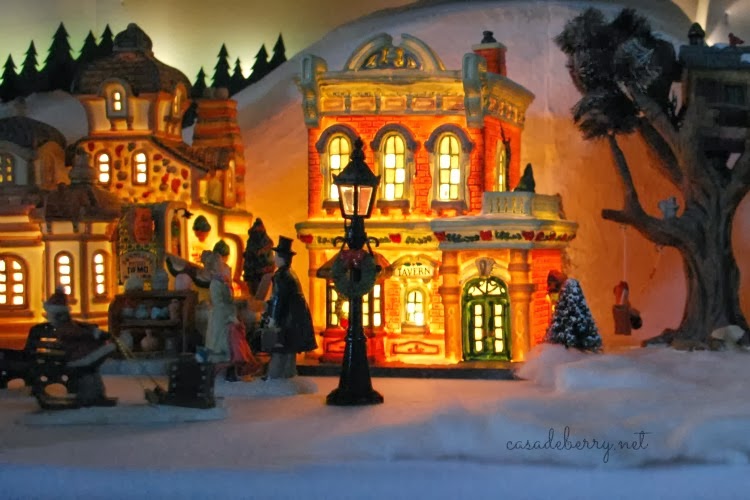
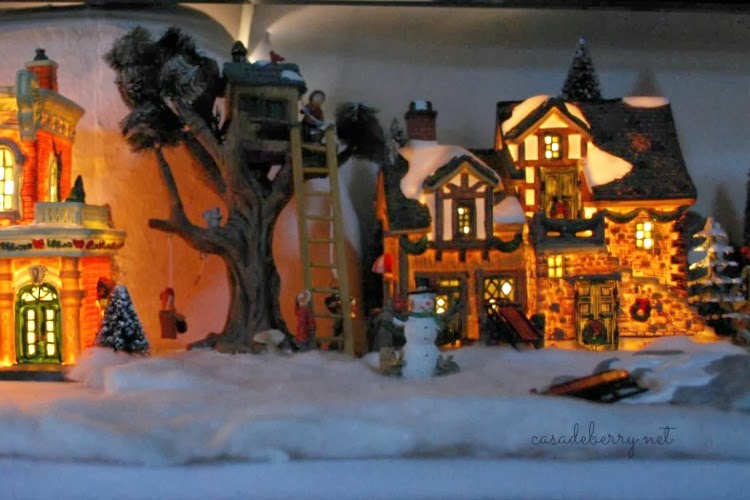
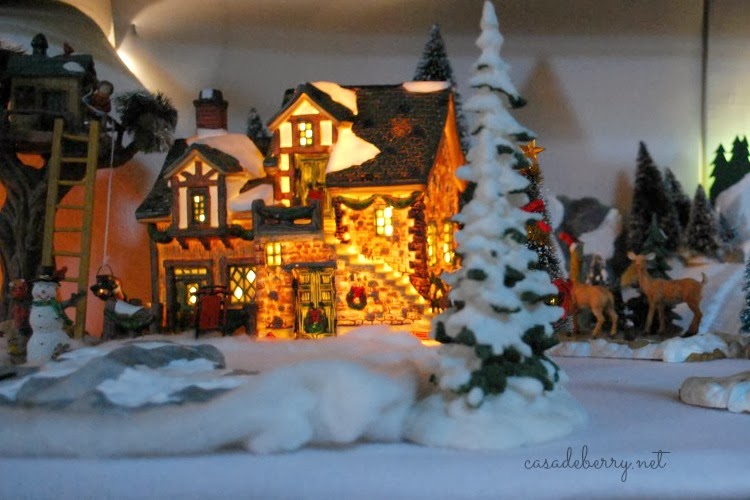
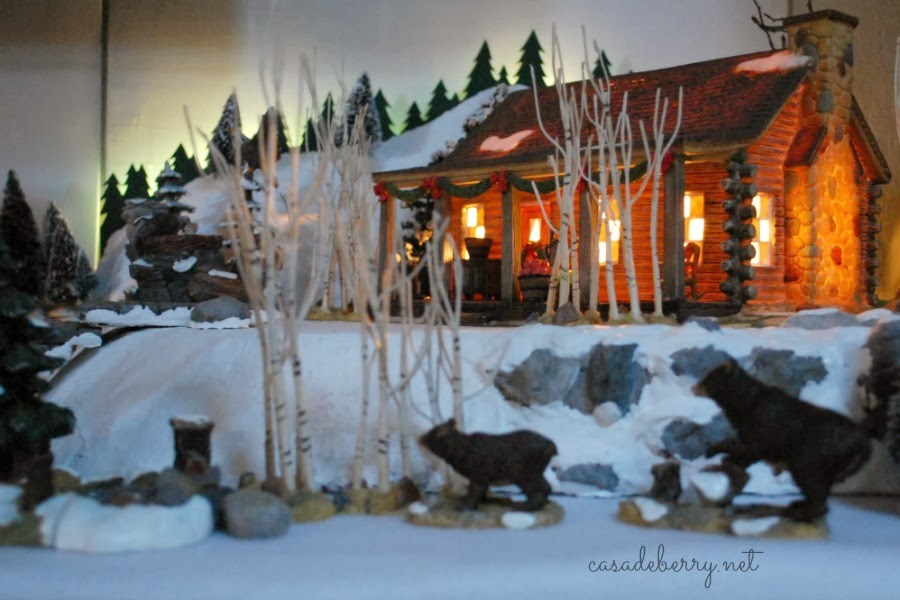
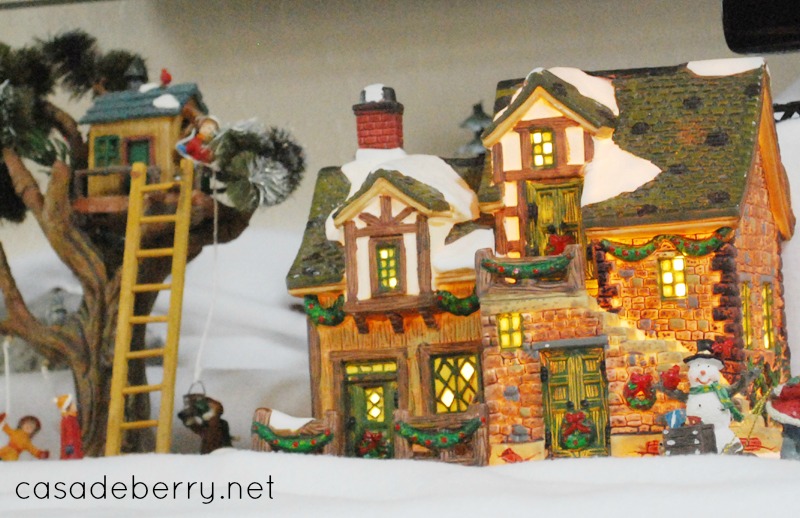
We absolutely love it. He had been wanting to create the shadow effect of the line of trees in the background with lights behind them for ages, and finally did it a few days ago. He painstakingly cut out the tree line and also built the mountains and snow banks. Just a few additions but they’ve made the little village so much more charming.

Hope you enjoy our miniature wonderland!

Weekend Bloggy Reading

The House Cleanse

The Nester’s post today about having a month with no accessories in your home, is right up my alley. I am on a ruthless quest to eliminate extra baggage, be it from the kids’ closets as they grow out of things or these blubby things around my waist that didn’t use to be there.

Her idea of getting your house to the bare bones is very appealing to me, with one caveat: Not in the kids’ spaces. Sure, I will be purging too-small clothes and un-played-with toys, but I don’t think there will be anything bare bones about my boys’ rooms or the playroom.

We are having a little soiree in late June but that involves using things that will – most likely – not be used again, so all that can go out the door once that day is over.

I am a total photo fanatic so this will be tough, but it will be a good thing to see what we can live with, and what is just cluttering up our lives.

Have a wonderful weekend!

The Christmas Serpent

Okay, so the title may be a little dodgy, but really, check out what my awesome husband made this time!

The inspiration was one of the structures at a local park, which does a great holiday lights display for people to drive by. Last year, my mother in law commented that she really liked their Christmas sea serpent and my husband, of course, said, “you want one?”


He cut out the pieces out of plywood, then my in-laws helped with painting, drilling EIGHT HUNDRED HOLES for lights to poke through, and painting.

It looks pretty awesome, doesn’t it??

Here’s Mr. Awesome checking out his masterpiece, on his parents’ front yard:

Hope your weekend is wonderful!!! I am off to see if I should change the name of the blog to My Husband’s Awesomeness ;D

Serenity Now blog

It takes a village . . .

to brighten up our TV console during the holidays ;D

Over the last few years, we have been gathering pieces for our little holiday village, mostly on clearance or at 60% off.

It is my youngest who turns on the lights every day when he wakes up and gazes at the different buildings, like this little cottage:

isn’t it adorable?

I wouldn’t mind taking a class at this pottery studio!

And I am sure both boys would love to have a tree house like this one in the backyard 😀

although the kid on the swing seems to have suffered a mishap – oops!

We recently purchased another little building at Michaels, they had a 60% off sale plus 15% off that day only, so we scooped it up, it was the last one like it — I’ll show it to you next week.

Frame Jewelry Display

You know how sometimes the glass that comes with a photo frame breaks? And you don’t want to throw that frame away so you stash it for months in various places, until your husband is all “hmmm, are you going to do something with this thing?” And then a friend gifts you their old coffee table but one of the ten knobs is missing and you’re all “Whoa! Frame + knobs? Can I say jewelry display?”

Okay, so maybe you haven’t thought this, but I did, and here are the results.
0903display1

I took the frame and painted it in Oil Rubbed Bronze, then covered the backing with gold dust vellum paper from my favorite paper store.

The backing was a piece of laminate that my husband had leftover from a project and he cut it to size for me. Once the laminate and vellum were adhered, I marked a grid of nine spots on the back – three across, three up and down. My awesome husband drilled the laminate and paper and we bought some new screws because the ones that came with the knobs were too long.

I now have a place to display some of my bracelets and necklaces:
0903display4

0903display3

0903display2

The total cost of this project was solidly under ten dollars. The paper was $2.75 (plus tax) and the new screws/washers were under $5. I had the frame, we had the piece of laminate and we had the nine knobs from my craft table project.

I hope you have enjoyed my repurposed photo frame craft!

Transformation ThursdayPhotobucket
HookingupwithHoHWeekend Bloggy ReadingThe Shabby NestmonogramPhotobucket

“>
UndertheTableandDreamingTip Junkie handmade projects