Master bedroom

A wise friend advised me to focus on the master bedroom, to create a sanctuary there even if the rest of the house was not finished. For the most part we did that, because having a place for the whole family to gather was at the top of our list, so our living room did get top priority. Today I’m sharing our master bedroom as it is now. I still want to have a little sitting area, but for the most part, it is functional, and after a few things we added this past weekend, I think it’s beautiful.

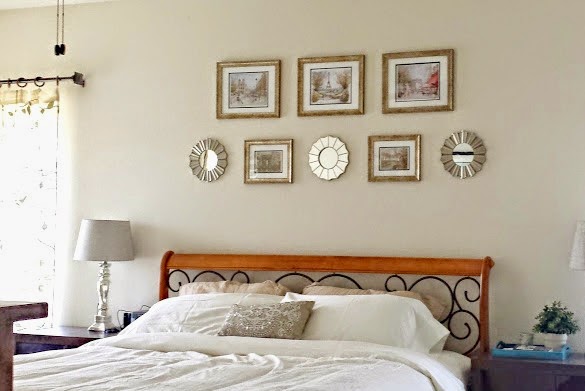
I wanted warm, soothing neutrals, a bit of glam, a bit of Paris (of course), and I definitely wanted to make good use of things we had in our California house.

The main purchase here was the bed. We wanted a king-sized bed (Eastern king, not California king), and Steve wanted a sleigh frame, so we looked and looked, and found the bed at Wayfair.

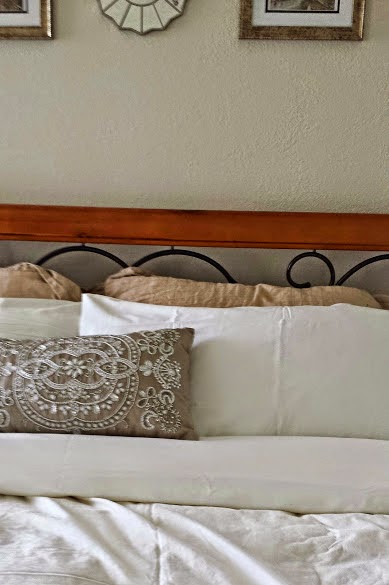
We had the white duvet cover, got white sheet sets from IKEA and WalMart, and the beaded pillow is from the clearance aisle at Pier 1. Our Stearns and Foster mattress is absolutely heavenly to sleep on, and was purchased from Ashley Furniture in nearby Brookfield.

We bought some prints from street vendors when we were in Paris last November, and I’ve held on to them until I figured out what I wanted to do with them. We considered putting them in the living room, dining room, but in the end I liked the idea of having them in our bedroom.

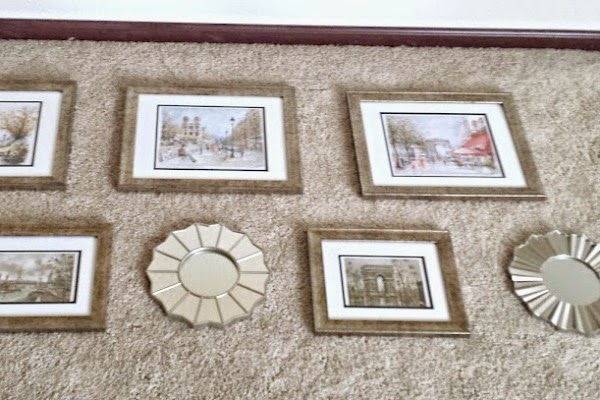
The frames are from the “value” section at Michaels, and the set of mirrors are from Kohl’s, but I’ve seen similar at Target.

Steve did a great job putting them up and we both love how they look up there.

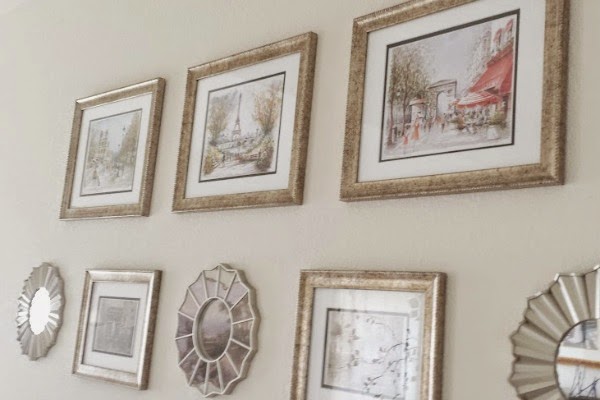
The neutral frames let the color in the prints pop and this little gallery is a sweet reminder of our trip.

The nightstands are IKEA Expedit pieces we brought from California, and the lamps and shades are from WalMart.

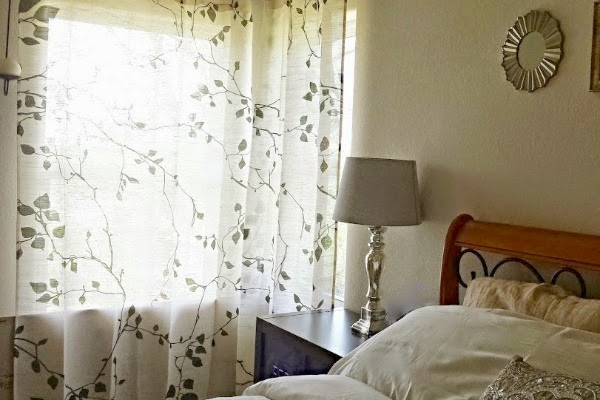
I love these curtains.

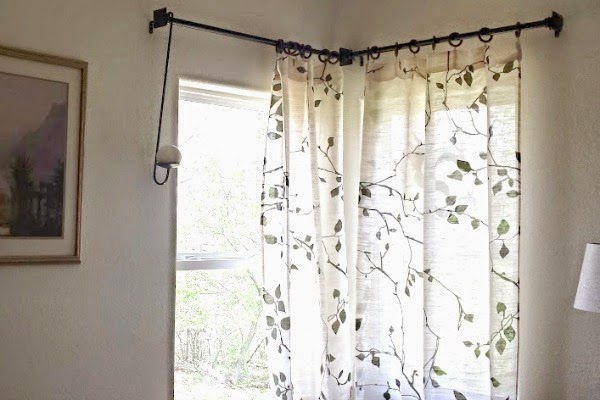
They’re from World Market and the moment I saw them I knew that I wanted them. They’re neutral and warm, and I liked that they give us privacy but are not completely blocking the light. Don’t worry, we don’t light those candles when the curtains are closed 😀

The painting to the left was brought from our California bedroom.

We also have our two dressers facing the bed, as well as the trunk that is a family heirloom. We’re really happy how our bedroom is coming along, it is a soothing, comfortable space we both love.

Glitter and Ribbon Matting

Matting, not mating. Not that I wrote mating the first time around or anything.

I found a great hemisphere map at my favorite paper goods store – in my favorite blues and greens – and needed a frame large enough for it. My husband volunteered a frame he had, which was the perfect size, except the mat color didn’t really go with my map.

I had also purchased gold glitter wrap paper and decided to tape it over the existing map. This frame does not have glass so it’s just the backing, the map, and the mat over it.

The strips were cut wide enough to go a little beyond the original mat:

As a finishing touch, I added teal ribbon from my sewing stash:

The finished product:


The wedding picture you see above is also matted with lovely wrapping paper, in a music note pattern.

I hope you like this craft, it was an inexpensive way to use something we have and give it the exact look I wanted. Now the frame coordinates with the map print and has a bit of glam, which my office can always use ;D

Corner bookcase all decked out

We have a little bookcase in the dining room – it has most of our cookbooks and fits perfectly in a little corner. I decided to jazz it up with some holiday goodness this past weekend:

To the left are the doors going out to the side deck, but our avocado and pear tree block most of the light. Since this corner can get a little dark, I chose some bright accents in gold and white.

First is a beloved picture of my boys. I’ve had this frame for decades but it’s usually on one of the living room bookcase shelves. Now it gives some much needed glam to my little bookcase. The floral fabric is from a runner my mom made — she made a few some years ago and I love to add them throughout my house. The red and green candle holder is cute but gets lost in the larger decorations so I put it here.

Then comes another candle craft I made with candy canes, this one in a mason jar. I added a taper, taper ring and glittery bow.

Last are my white lantern from IKEA and a rustic gold star I got at Pier One.

The bookcase looks so cheerful now — I am very lucky to have so many little areas to decorate. Hope you like my corner bookcase!

Frame Jewelry Display

You know how sometimes the glass that comes with a photo frame breaks? And you don’t want to throw that frame away so you stash it for months in various places, until your husband is all “hmmm, are you going to do something with this thing?” And then a friend gifts you their old coffee table but one of the ten knobs is missing and you’re all “Whoa! Frame + knobs? Can I say jewelry display?”

Okay, so maybe you haven’t thought this, but I did, and here are the results.
0903display1

I took the frame and painted it in Oil Rubbed Bronze, then covered the backing with gold dust vellum paper from my favorite paper store.

The backing was a piece of laminate that my husband had leftover from a project and he cut it to size for me. Once the laminate and vellum were adhered, I marked a grid of nine spots on the back – three across, three up and down. My awesome husband drilled the laminate and paper and we bought some new screws because the ones that came with the knobs were too long.

I now have a place to display some of my bracelets and necklaces:
0903display4

0903display3

0903display2

The total cost of this project was solidly under ten dollars. The paper was $2.75 (plus tax) and the new screws/washers were under $5. I had the frame, we had the piece of laminate and we had the nine knobs from my craft table project.

I hope you have enjoyed my repurposed photo frame craft!

Transformation ThursdayPhotobucket
HookingupwithHoHWeekend Bloggy ReadingThe Shabby NestmonogramPhotobucket

“>
UndertheTableandDreamingTip Junkie handmade projects

Beautiful nail

No, not that place where they make your finger go like dat! I mean the wonderful package of nail goodness I got in the mail from my college friend Carina and Overall Beauty.

The nail color I won is called Glampyre – I mean, how am I supposed to resist? I won it in Carina’s giveaway but really, it’s a gorgeous color and I would have so hunted it down otherwise, just look at it:
My nails are crap right now, so these are pics from Carina’s blog. And her manicures are so much better than mine!

I also received from Overall Beauty a pedicure set, a gorgeous mineral eye shadow, and some sweet nail art.

After all my work jazzing up my office area, I’m going to get some pampering done – have a great weekend!