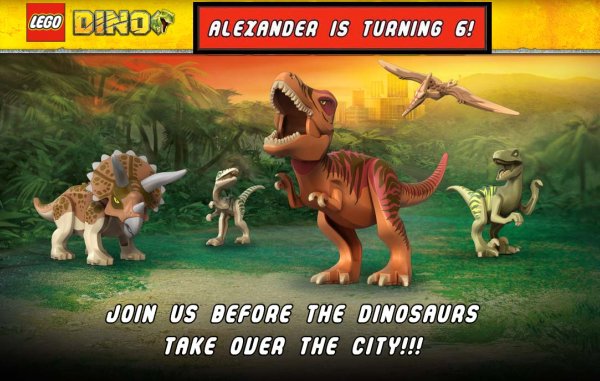
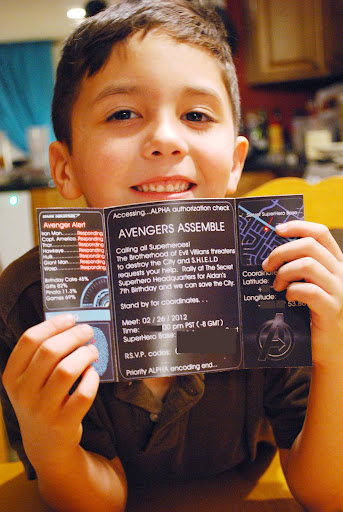
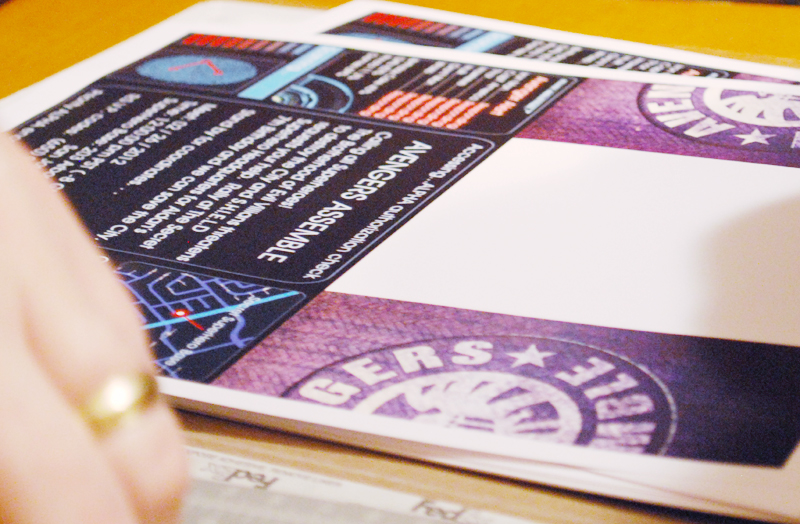
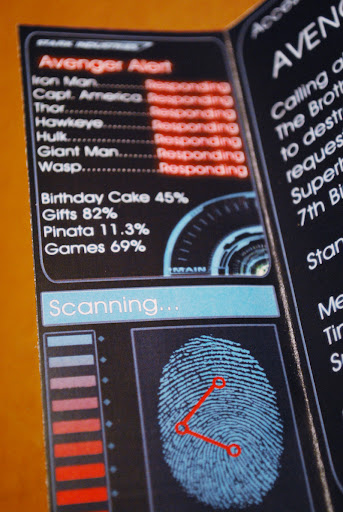
My youngest turns six today. We celebrated on Sunday with a small birthday party in the theme of his choosing — Lego Dinosaurs. I did a simple invite based off the Dino Lego website, using the Legothick font I downloaded for free:
The day was beautiful, a little warm for my (arctic) taste, but my in-laws lent us their canopies and we had a great time chatting in the backyard and watching the kids play.
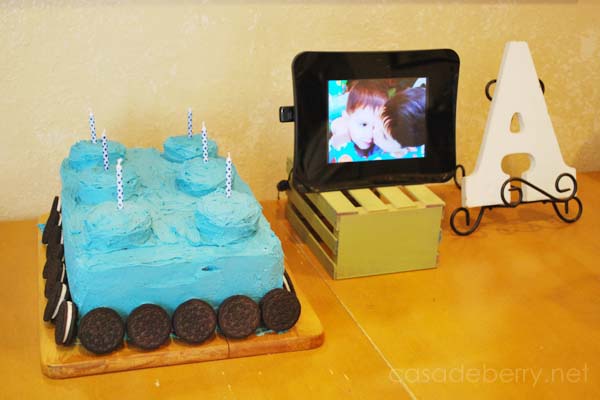
For the cake, we chose to do a Lego brick cake — actually two, since I made one chocolate and one vanilla cake. My son’s choice was blue frosting on his vanilla cake, so I made the buttercream, too. First time, and I think it tasted pretty good. The chocolate cake was covered in green buttercream. We had liquid food coloring at home so I used that, but it took so much coloring to get the shade I wanted that I think next time I will use gel food coloring. My son saw the blue buttercream and gave it a thumbs up. Then he tasted some and wanted to eat the whole container so I had to refrigerate it for a while ;D
A couple of friends suggested Ding Dongs for the Lego studs on the cake:
Here’s my sweet Alex blowing out the candles:
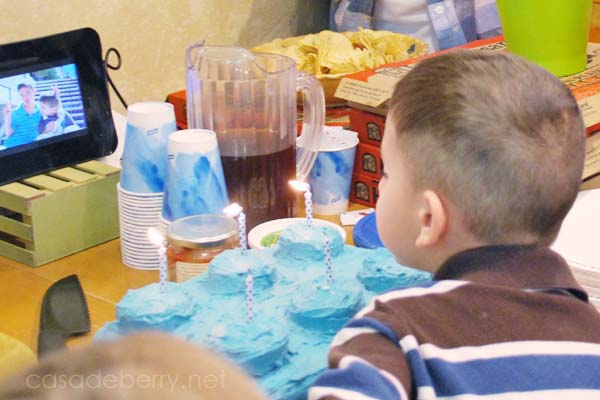
It worked out perfectly that I made a six-stud brick and he was turning six, I just stuck a candle into each, uh, Ding Dong stud. Man, that sounds bad, huh? lol
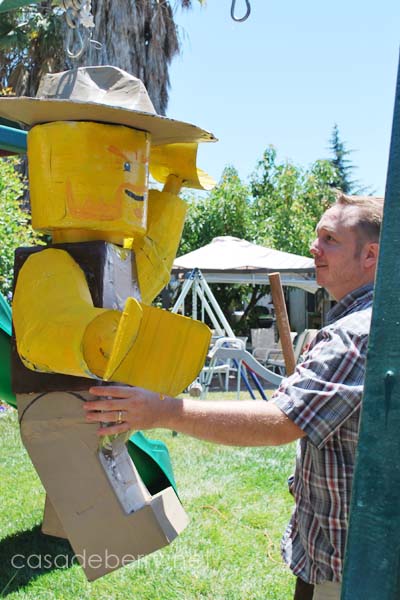
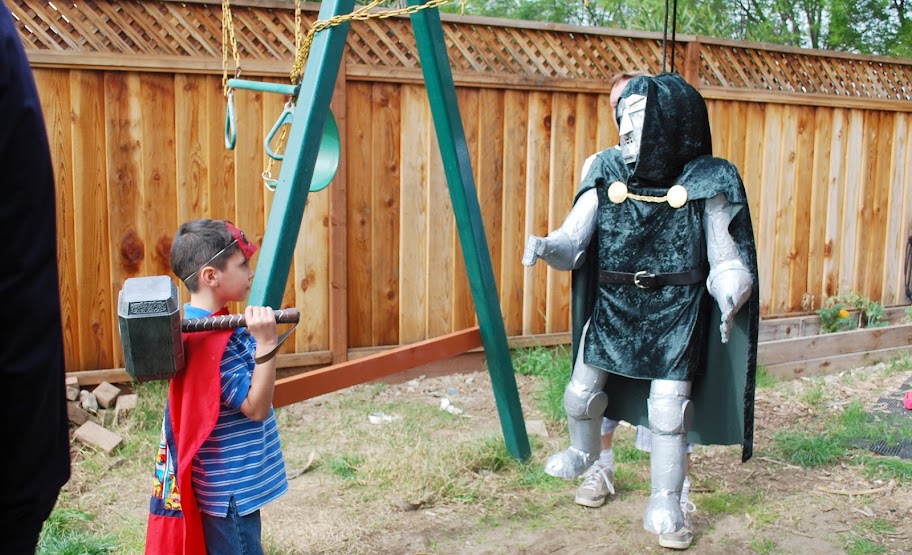
For the piñata, my husband made a fabulous, Alex-sized version of one of the Lego Dino wranglers:
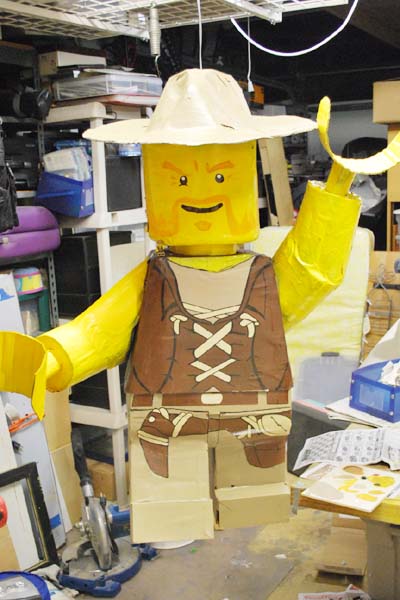
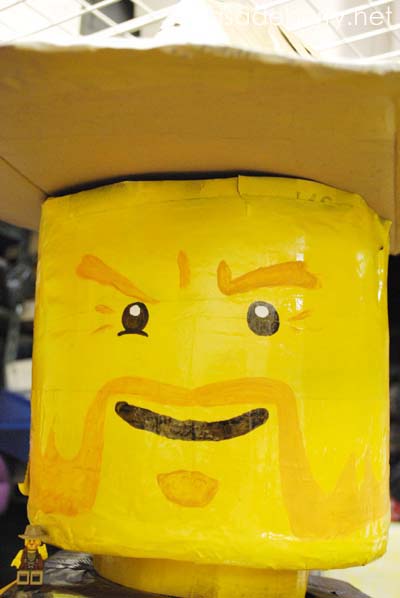
Here you can see the “model” on the shoulder:
Clothing details:

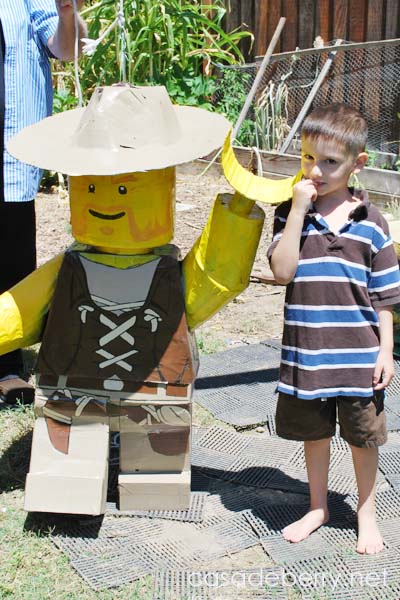
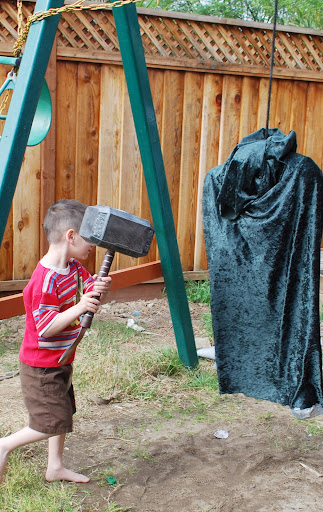
It’s alive!

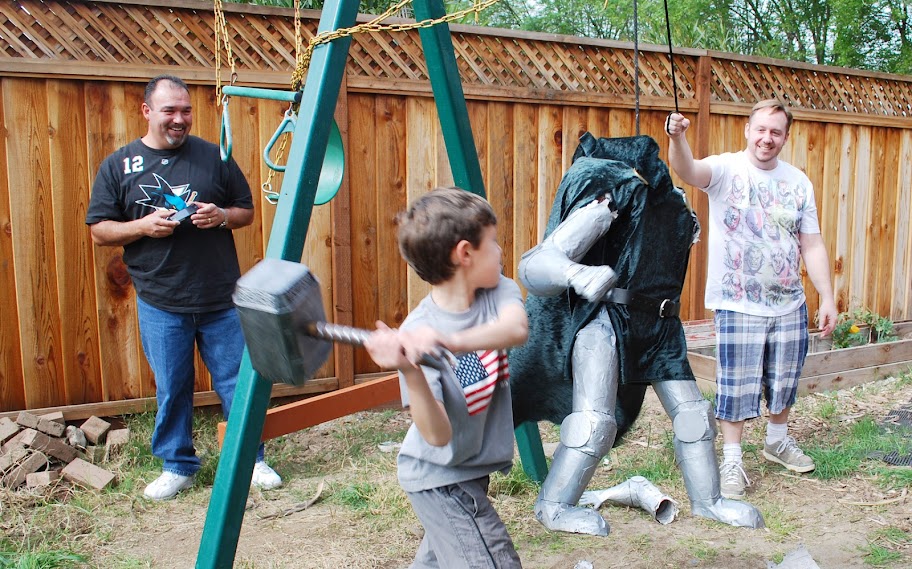
My husband gazes at his creation one last time before the kids go at it!
Alex with his piñata:
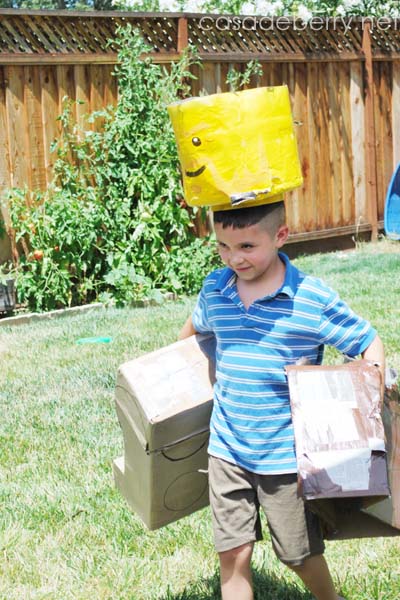
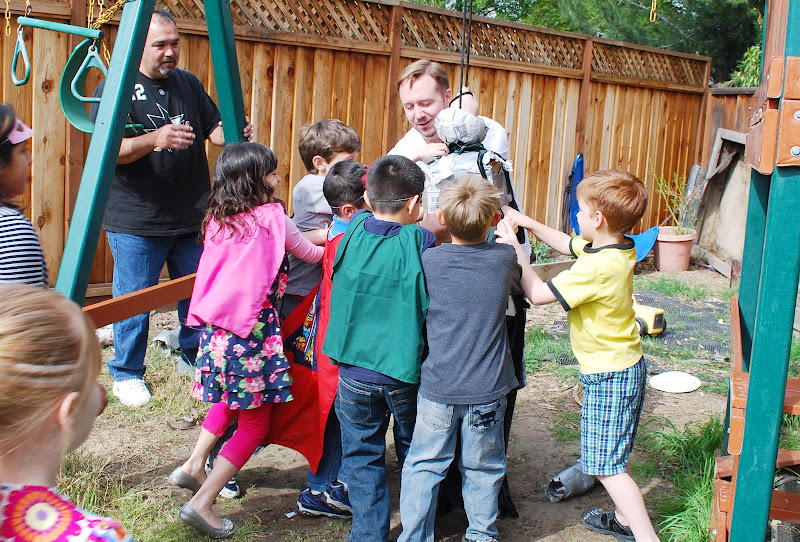
After the carnage, my oldest made sure to save the head for our future “trophy room” — seriously, we have saved the heads off a few piñatas and costumes, and I told my husband we should mount them on the wall the way others mount moose and tiger heads 😀
Hope you’ve enjoyed looking through our Lego party – have a great Tuesday!


